Many of us would have fond memories of playing with playdough when we were children, and it hasn’t changed today. Playdough is a staple inclusion within our centres, and Day One goes through kilograms of the good stuff each and every week!
One of the best things about playdough is that you don’t need to rely on costly versions bought from stores, it’s just as easy to whip up a batch yourself whenever you or your littles ones are looking to create and play.
Why do we use playdough in our centres?
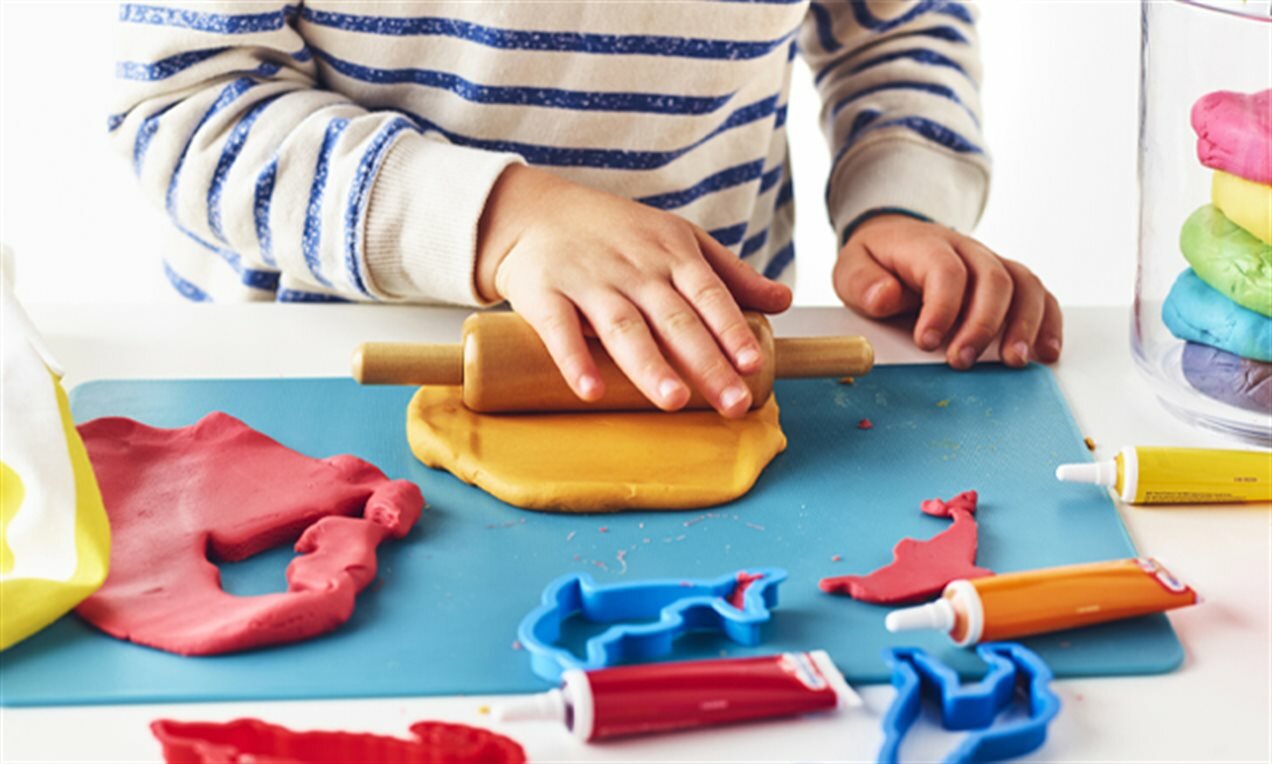
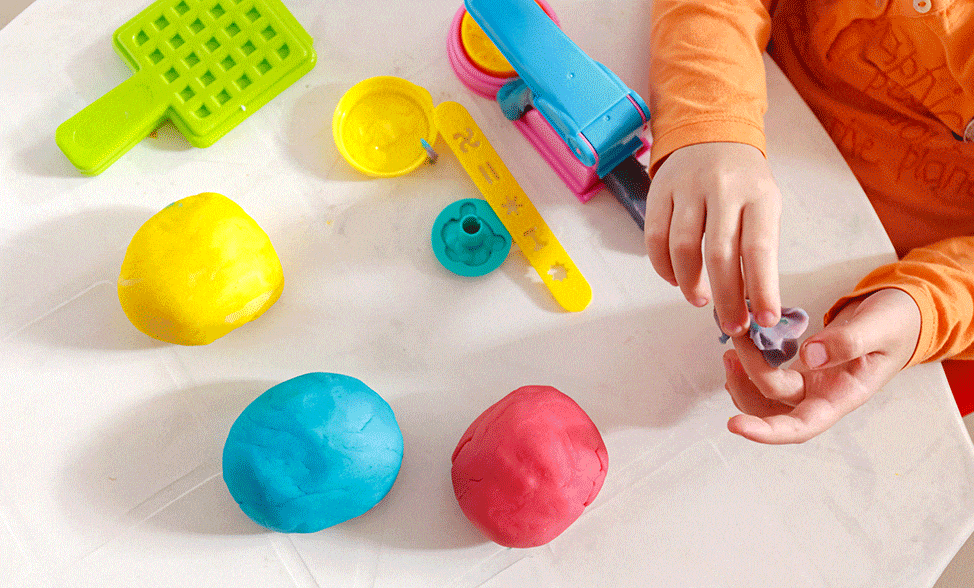
Playing with playdough is beneficial to each child’s development in so many ways. As children manipulate the dough to create three dimensional objects, they are developing strong muscles in their fingers and hands. When children squash, squeeze, roll, flatten, push, pull, chop, and poke the playdough, they are developing fine motor skills and hand-eye coordination.
Children will also learn about texture, shape, colour, size, pattern, and design as they play too. The list of benefits in children’s development is virtually never ending!
Making playdough with your children.
Making your own dough can be a fun project for your child. Weighing, measuring, and mixing ingredients can help children understand mathematical concepts of weight, volume, and numbers. Children will also develop their key motor skills whilst pouring, stirring, and kneading the dough… and this is all before they begin playing with it!
Plus, getting your children involved in cooking and baking helps build some key life skills, not to mention helps with their social, mental, and physical development… plus all children absolutely love getting involved!
Looking for a never-fail homemade playdough recipe that has been tried & tested by industry experts? Look no further than our simple recipe…
Playdough Recipe Ingredients.
2 cups of plain flour
1 cup cooking salt
3 tablespoons cream of tartar
2 tablespoons cooking oil
1 cup boiling water
Food colouring of your choice
Playdough Recipe Method.
1. Boil water in a kettle (keeping away from children)
2. Place all dry ingredients (expect food colouring) in a large mixing bowl
3. In a separate bowl, pour in boiling water and some food colouring,
4. Add the coloured water to the dry ingredients a little at a time, mix to combine. Continue adding little bits of water until playdough is at the desired consistency.
5. Allow to cool, then knead the dough until mixture is smooth. (Children can help with this process when the dough is cool enough)
You can always store leftover playdough in a Ziplock bag in the fridge. It will keep for weeks!
Playing with Playdough & Other Materials
We recommend adding additional elements to the playdough play experiences, this not only keeps the play interesting, it further develops key skills. Here are just a few items we recommend including with your playdough play…
- Straws
- Rolling pins, plastic knives, safety scissors
- Coloured and natural feathers
- Pinecones, sticks, bark, leaves
- Muffin tins, egg cartons, chocolate boxes
- Small cups and shot glasses
- Alphabet, number and shape cookie cutters
- Dried pasta
- Shells
- Buttons
- Glass pebbles
- Toy vehicles
- Wooden letters and numbers
- Fabric and ribbons
- Match sticks and paddle pop sticks
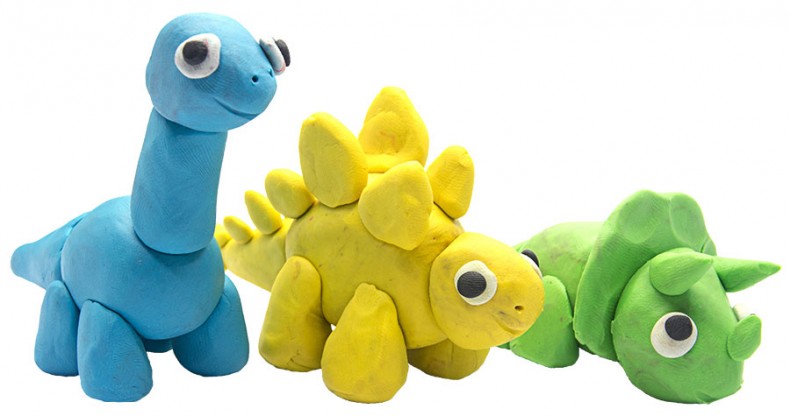
- Googly eyes
- Pipe cleaners
Want more?
If you’re looking for more activities, ideas or recipes, be sure to check out our news & advice page!


